1 min read
Sage X3 Consultant Reviews How to Set Up Workflows and Emailing Reports
Sage X3 Consultant Tip: Workflows and Emailing Reports in 6 Easy Steps While out in the field on consulting engagements, I noticed that many...

In order to make sure that Sage X3 users are following all these steps before closing the month (period), you can develop a visual flow that assists the users to perform the activities in the required sequence by providing shortcut menus of various functions. If you have any questions about these instructions below, please contact us! We hope you will find these instructions straightforward. Please leave us a comment if you have other questions you would like us to address regarding your business or any questions specific to Sage X3.
1. Accounting Tasks
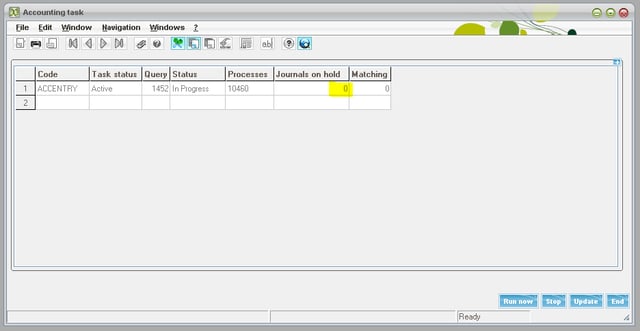
Go to Usage>Batch Server>Accounting tasks
Ensure that the ‘Journals on Hold’ column is always ‘0’
Any number of journals on hold will mean that they are not reflected in the G/L. To make it ‘0’, click the Run Now button, and after a few minutes, click Update to see that the ‘Journals on Hold’ turn to ‘0’.
2. Shipment Validation
Open the Sales Delivery function. The user can check the records and validate the shipment, entry by entry.
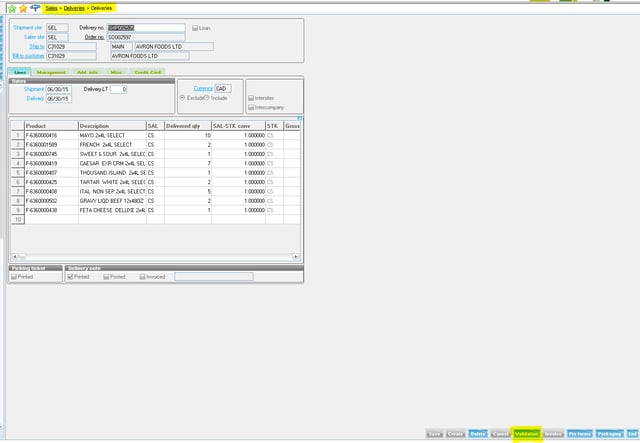
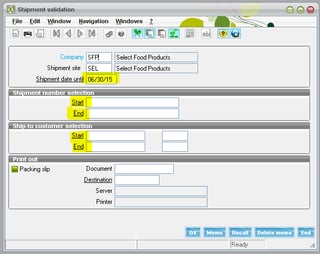
Go to Sales>Deliveries>Shipment Validation to open the function for bulk validation of non-validated shipment entries.
3. Sales Invoice Validation
Open the Sales Invoice function. The user can check the records and post the invoice, entry by entry.
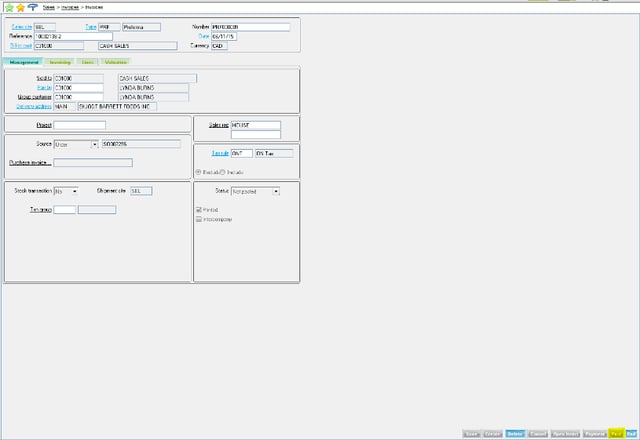
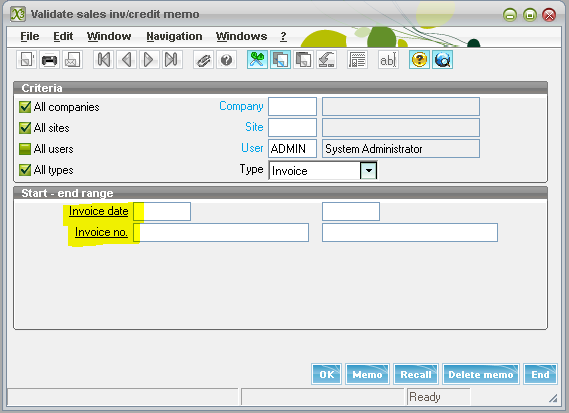
Go to Sales>Invoices>Invoice Validation to open the function for bulk posting of invoices.
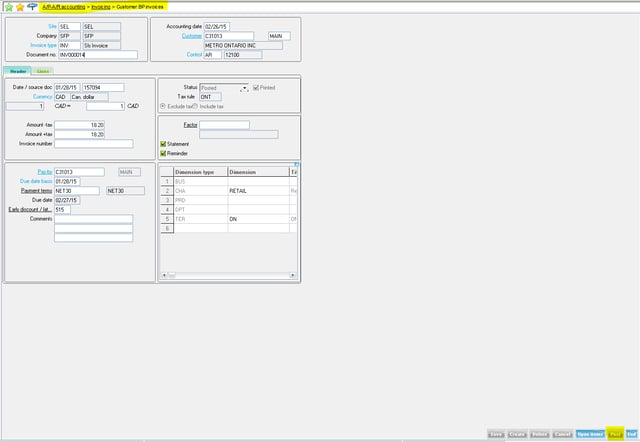
Open the Customer BP Invoice function. The user can check the records and Post the BP invoices, entry by entry.
4. Purchase Invoice Validations
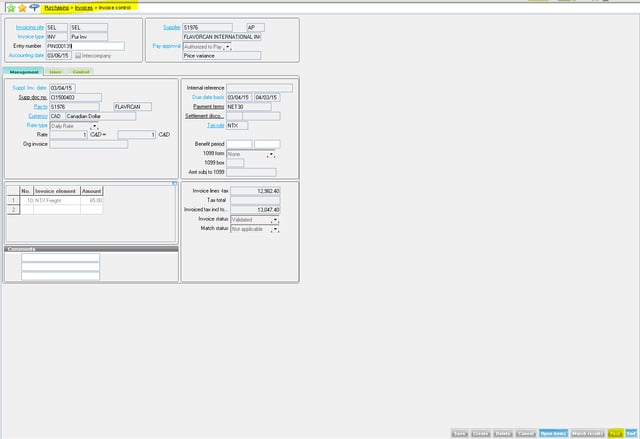
Open the Purchase Invoice function. The user can check the records and Post the invoices, entry by entry.
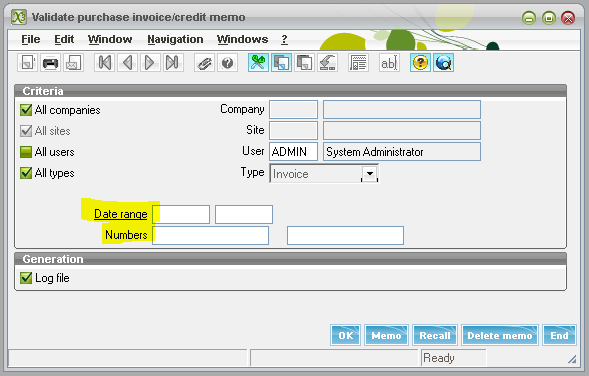
Go to Purchase>Invoices>Invoice Validation to open the function for bulk posting of invoices.
Open the Supplier BP Invoice function. The user can check the records and Post the BP invoices, entry by entry.
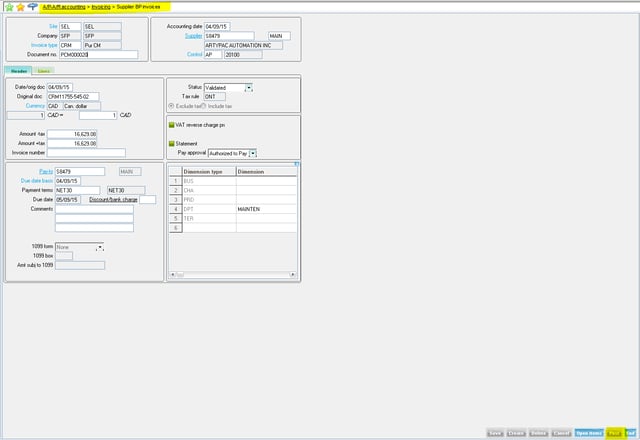
Mass Supplier Invoice Validation will open the same function for bulk posting of BP invoices.
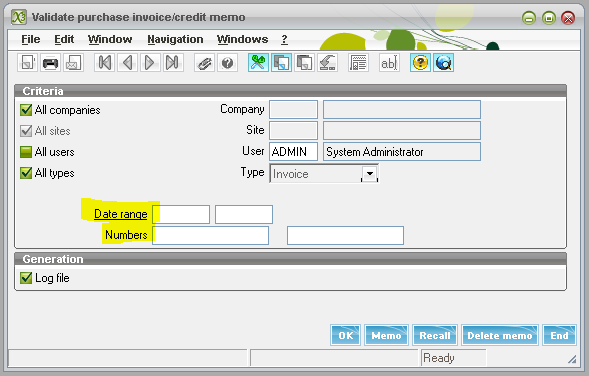
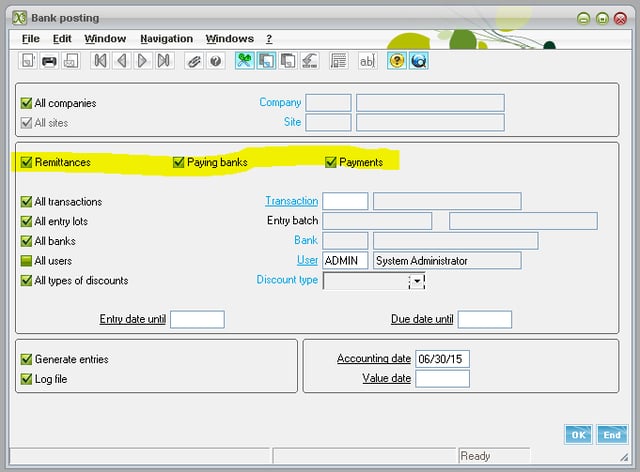
5. Bank Posting
Open the Bank Posting function for bulk posting of unposted Payments/Receipts
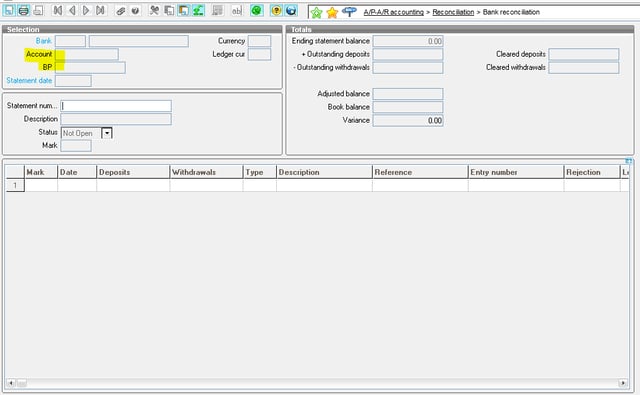
6. Bank Reconciliation
When all the required Bank Entries are posted, only then can you move forward to Bank Reconciliation.
7. Inventory Interface
Run the Stock Accounting Interface function
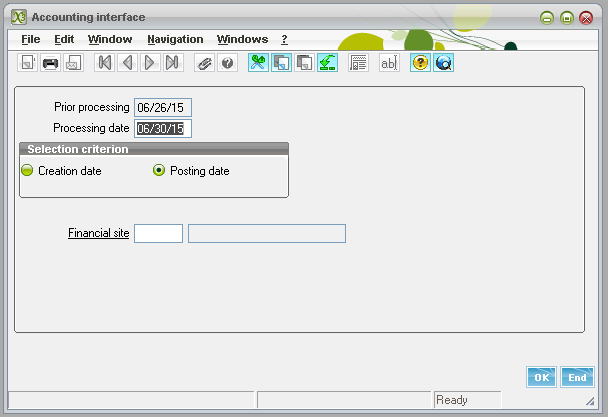
This will post all the Stock Movements to the G/L.
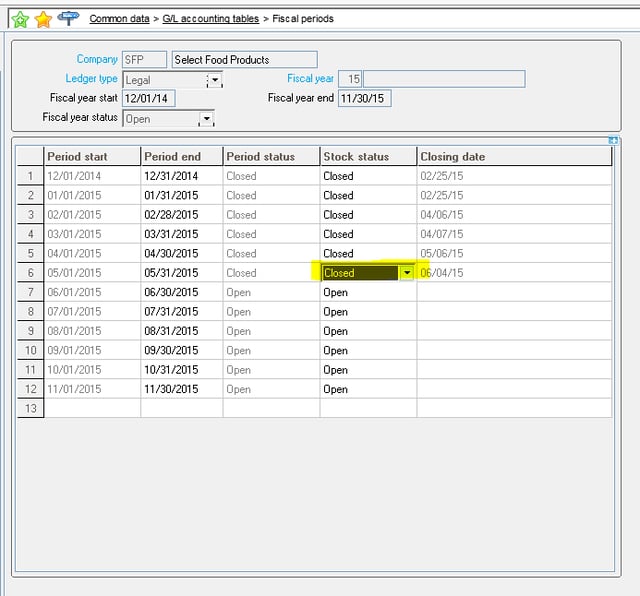
8. Close Stock Period
Open the Fiscal Periods function.
In this step, the User needs to ensure they close the Stock for the period by change the Stock Status to ‘Closed’
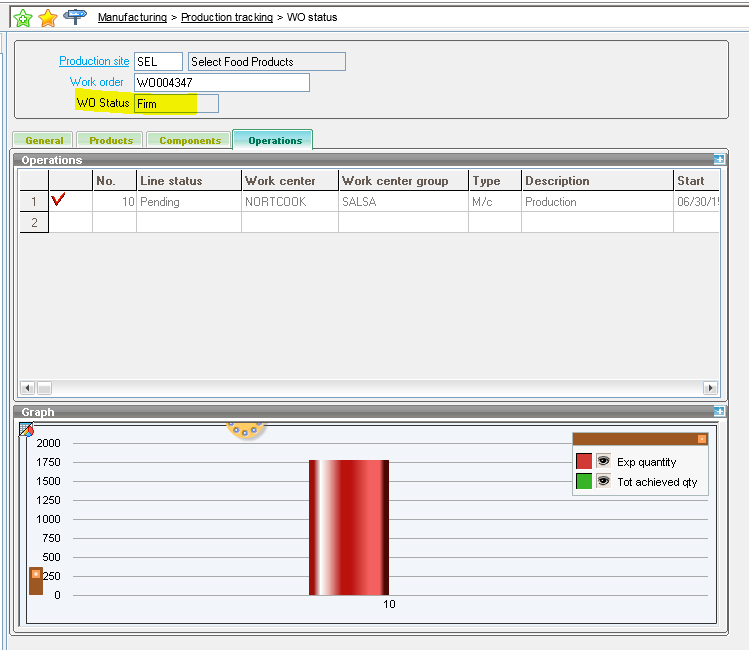
9. Work Order Status
Open WO Status to check the status of all Work Orders
10. WIP Accounting Interface
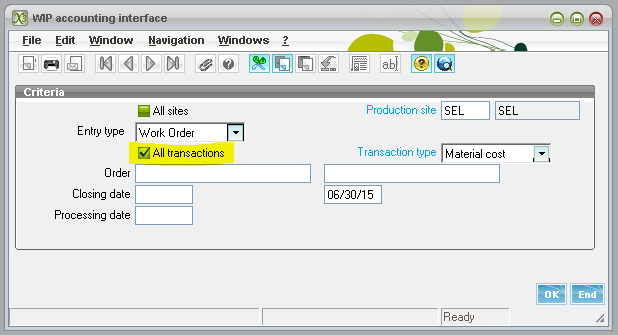
Open the WIP Accounting Interface to post all WIPs to the G/L. Ensure to select ‘All Transactions’ for posting of all transactions in terms of Costing.
11. Stock Valuation Report
Shortcut to the Stock Valuation Report
12. Matching
Open the Matching function that automatically matches credits and debits (eg. Payments and Invoices) of the same ‘exact values’.
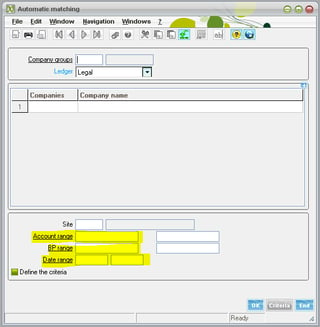
Clicking Manual Matching will open the function that allows the user to manually match the entries as per the discretion. For Example – Matching a payment for Multiple Entries. This function is applicable for both A/P and A/R transactions.
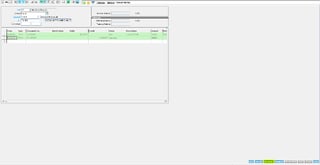
When matching transactions, you can select all lines (double-clicking each line) that to match.
When lines are highlighted in ‘green’ this means that the entries are ‘Completely’ matched.
Click the ‘Matching’ button.
The Entries are now automatically marked with ‘Upper case’ character, to denote ‘Complete and Exact’ (i.e. debits equal credits) matching.

Lower case letters indicate transactions still have unapplied amounts to match.
13. G/L Reversals
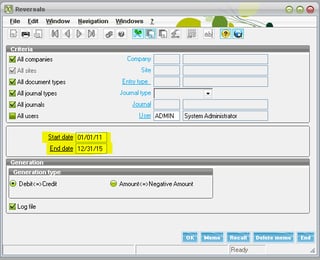
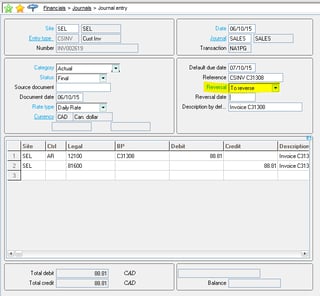
Open the GL Reversals function to reverse all the GL entries that were set to ‘To Reverse’ in the Journal entry.
14. Journal Validation
Open the Final Validation function to batch validate all the GL entries from ‘Temporary’ to ‘Final’.
This step is critical to Month End closing, since, technically the Period cannot be Closed unless all the GL entries under the Period are validated to ‘Final’ Status.
15. Close Period Readiness Report
Open the ‘Close Period Readiness Report’ that provides the status of all the entries in the period. It also shows the entries that are not validated, indicating them to be validated before Period Close.
Pre-Closing Report – sample:
16. Period Close
Finally, after checking all the necessary activities, the Period can now be closed with no errors.
Open the Fiscal Periods function. Period can be closed by clicking the ‘Closing’ button at the bottom and then selecting the appropriate next period (tick the period).

As always, if you have any question about the content of this blog or get stuck with any of these steps, please feel free to contact us. Interested in learning more about Sage X3. Call us at 1-866-320-8922 and we’d be happy to help! In fact, we’ve been specializing in ERP/Accounting and CRM solutions, as well as a host of leading IT solutions & services, for over 20 years!
Contact us at Mantralogix today and a member of our Sage X3 Toronto based consultant team would be pleased to help you optimize your Sage X3 software.
Mantralogix specializes in the implementation, support, and training of world-class ERP solutions from Sage, including Sage MAS 500, Sage 300 (formerly Accpac), and Sage X3, Sage PFW, and Sage BusinessVision Accounting (BV). We also help with CRM, HRMS, custom development, hardware, and IT consulting and outsourcing. Mantralogix has in-house expertise in designing, developing and implementing solutions for financial, manufacturing and distribution verticals. Contact us today at 866-320-8922 or visit www.mantralogix.com.
Another version of this article was previously posted on Mantralogix’s Blog on November 5, 2016 by Pascal – How to Complete (Step by Step) a Month End Closing in Sage X3
Photo courtesy of freedigitalphotos.net by digitalart
1 min read
Sage X3 Consultant Tip: Workflows and Emailing Reports in 6 Easy Steps While out in the field on consulting engagements, I noticed that many...
Sage ERP X3 Toronto, CN Consultant Question: How do I email reports, purchase orders, sales orders, receipts, or invoices? As a Sage ERP X3 Toronto ...
Sage X3 Consultant Question: Action Field Options I was working in the development tools in Sage X3 and I’ve been asked to update certain fields...